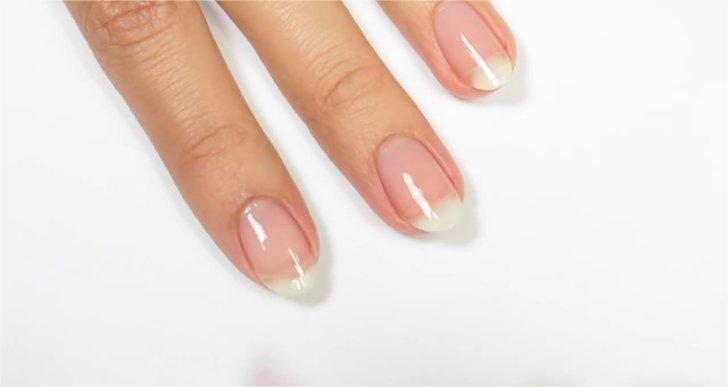
A gradient manicure is to create a gradient effect on the nails, usually from the root of the nail to the tip of the nail. It takes a lot of work to create a perfect gradient manicure, but as long as you work hard with your brain and hands, you can create beautiful gradient nails with your own hands.
Manicure with Cotton Pad
Use a cotton swab dipped in nail polish remover to remove nail polish from your nails. Use nail clippers to trim your nails to the desired length. Then use a nail file to smooth the edges and give the nail shape.
- Use a peeling fork to remove dead skin from the base of the nail to increase the exposed area of the nail and make it look longer.
- Of course, you can also use the nails of the other hand to pull off the dead skin directly.
Start by applying a thin layer of clear base coat to your nails. The base coat can protect the nails and smooth the nail surface, making it easier to apply color later.
Choose a base color for your nails. When doing gradient nails, the base color is usually white, which can make the nail color more vivid. Of course, in order to create a soft and delicate effect, you can also choose other background colors according to your own design. Apply the chosen color to all nails.
- Usually, the base color requires two coats. Wait until the first coat of nail polish is completely dry before applying the second coat.
- To make nail polish dry faster, apply it thinner each time. You can also apply it in two thin layers instead of a thick layer at once.
Take a cotton pad and apply color to it according to the shape and size of your nails. First, draw a straight line across the top with the lightest color of nail polish, then follow that line and draw a line with a slightly darker color underneath it. Finally, use the darkest color to draw another horizontal line under the second one. The lines should be stuck together without any gaps being exposed. Apply each color a few times, making sure the nail polish on top of the makeup is wet enough to stick to your nails.
- Generally speaking, you only need two to three colors of nail polish for gradient nails. You can try various combinations according to your preferences and see how it works.
- Before applying color to a cotton pad, soak it in water, wring out 80% of the water, and then apply color on it.
- Wetting the cotton pad will prevent it from absorbing the nail polish too much, and it can also effectively slow down the nail polish from drying out.
Apply the nail polish on a cotton pad to your nails and apply it a few times until the color is dark enough to achieve your desired effect.
Align the nail polish edge on the cotton pad with the edge of the nail, then press the cotton pad and roll it back and forth on the nail to deepen the color and gradient effect.
- This process may get nail polish onto the skin around your nails. You can apply a layer of Vaseline around your nails beforehand, or put a little tape on them. Or wait until it’s applied to the outside of your nails and then wash it off with nail polish remover.
- You are very free to print the nail polish from the cotton pad to the nails. You can print horizontally, vertically, or even diagonally as long as you can get an effect that satisfies you.
After finishing one nail, finish all the nails in the same way. The pattern or style of nails should be consistent. The color of each nail should be light to dark, and each color should be closely connected without any gaps.
- Be sure to wet the cotton pad at the beginning, because a dry cotton pad may stick to the nail polish that has been applied to the nails, which will ruin the nail polish.
- As long as the nail polish can be printed on the nails smoothly, the rest is very simple.
Wait until the nail polish on the nails is completely dry (about 10-15 minutes), then apply two layers of transparent top polish to the nails. The process of applying color with cotton pads may make the surface of your nails pitted, but the surface oil can fill in your nails.
After you’ve painted your nails, use a small brush or a cotton swab dipped in nail polish remover to remove the nail polish that’s been applied to the outside of your nails.
- Cotton swabs can remove nail polish from the skin, while small brushes can more accurately remove nail polish that extends beyond the nails.
Get Glittery Ombre Nails
No matter when you wash your nails before doing a manicure. Use a cotton swab dipped in nail polish remover to remove any remaining nail polish from your nails. Then use nail clippers to cut your nails to the appropriate length. Finally, use a nail file to smooth the sharp corners or grind the nails a little shorter.
- Use a peeling fork to remove dead skin from the base of your nails. If you don’t have a dead skin fork, you can also just use the nails of the other hand.
Apply a layer of clear base coat first. It not only protects nails but also reduces blemishes.
- Before applying other nail polish, take 5-10 minutes to dry the base coat.
Choose a nail polish color you like as your base color. There is nothing to worry about when choosing a color, it is entirely based on your preference. The base color should be applied two times, a thin layer each time, leaving 5-10 minutes to allow the nail polish to dry. The base color should be applied well, don’t think about eating a big fat thing in one bite, and apply a thick layer at one time.
- Applying two thin layers of nail polish can not only make the color fuller, but also prevent the nail polish from drying out and sticking to a lump.
Now it’s time to apply the first coat of nail polish with glitter. Open the cap of the nail polish bottle and brush the nail polish brush on the inside of the bottle mouth, leaving only a small amount of nail polish on the brush. Give all your nails a coat of nail polish. But let the glitter in the nail polish be concentrated on the tip of the nail and spread as little as possible on the root of the nail. It is the uneven distribution of sequins that can produce a gradient effect.
- Allow five minutes to dry our first coat of glitter nail polish.
When applying the second coat of nail polish, leave a little more nail polish on the brush so that more glitter can be applied to the nails. This time, only brush the tip half of the nail and also concentrate as much of the glitter in the nail polish as possible on the fingertip. Spend at least ten minutes drying your nails.
- It’s up to you to decide how shiny the tip of your nails is, but be careful, the gradient effect should be natural.
- If you feel that the gradient effect is not enough or not shiny enough, you can apply another layer of nail polish on the tip 1/3 or 1/4 of the nail. But this nail polish is too thick, it is difficult to dry, and it takes longer to dry.
- Experiment to see which brush works best and doesn’t take too long to dry.
Wait for the nail polish to dry before applying top coat.
- Nail polish with glitter will make bumps when applied, so you need to apply two coats of top coat. The topcoat should completely cover the surface of the nail so that the glitter on the nail does not scratch your skin or get on your clothes.
Tips
- Save your thumb for last so that if you accidentally apply nail polish to the outside of your nail, you can use your thumb to scrape it off. But use nail polish remover to clean your thumb before applying it.
- If you apply Vaseline around your nails to prevent nail polish from getting on your hands, be careful not to get the Vaseline on your nails or the polish won’t stick.


